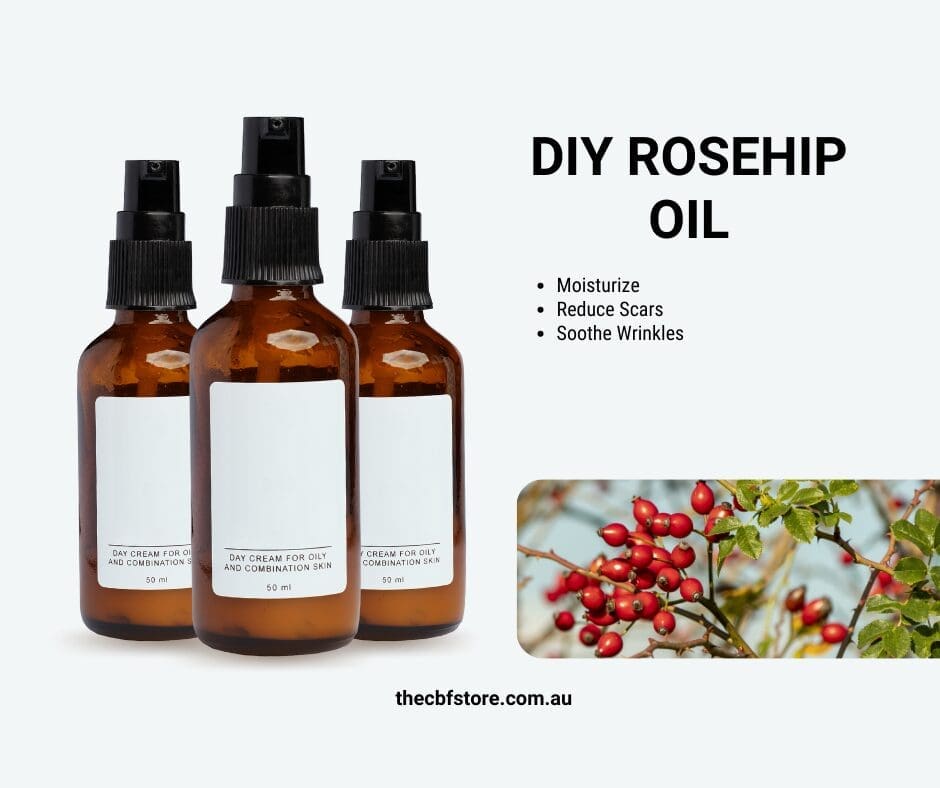
Ever thought of DIY Rosehip Oil? In case you didn’t know, rosehip oil is a great skincare product. It’s full of Vitamin C, and antioxidants. These are perfect for the skin, and helps in fighting conditions such as stretchmarks, acne, scars and inflammation. Read on to find out more about DIY rosehip oil. By the time you are done, you’ll know how to whip up this skin-loving potion, its benefits and more!!
What is Rosehip Oil?
If you haven’t heard of rosehip oil before, you’d be forgiven for thinking it’s a culinary product. This is not the case though. Rosehip oil is pressed seed oil, extracted from the seeds and fruits of the rose bush. It is different from rose oil in that whilst rose oil is extracted from the petals, rosehip oil is removed from the seeds and fruits (Healthline). It can also be extracted from rosa canina, which is a wild rose species native to Western Asia, northwest Africa and Europe.
Why Make Your Own Rosehip Oil?
Well, the first question you should ask yourself when it comes to making your own rosehip oil is why not? If that’s not reason enough, then here’s more reasons why you should try making DIY Rosehip Oil.
- It’s cheaper
While you might spend some cash in purchasing the initial supplies for your DIY Rosehip Oil, you’ll find that it’s more cost effective because you’ll likely make many batches. Way cheaper than buying it from the store.
- Customization
Since you are choosing the ingredients yourself, you can tweak the ingredients around to suit your skin’s needs. How awesome is that!
- It’s natural
DIY Rosehip Oil is made from purely natural ingredients, and so making your own means you can be confident you’re putting pure natural stuff on your skin, and connecting with mother nature while at it😊
- More Confidence
Ever felt the bliss of eating homemade bread? That’s the feeling your also get when you make your own DIY Rosehip Oil. When you do it yourself, you are sure that it’s just the right amount of fresh and strong, and loaded with Vitamin C plus fatty acids to treat your skin.
WHY DIY ROSEHIP OIL IS AWESOME
Well, by now you know that rosehip oil is good for your skin (we hope so:) But what are its key benefits? Here’s the scoop:
- Hydrates and moisturizes
Rosehip Oil contains fatty acids and vitamin C which promote hydration. So in case you need to mositurize your face or condition your hair, rosehip oil is ideal. Be sure to test it out on a part of your face to see how it works. Remember to use it in moderation if you have an oily face as well.
- Anti-aging
If you are looking for a way to age gracefully without the wrinkles, and cosmetics, then DIY Rosehip Oil is your solution. Rosehip Oil contains anti-aging properties that can help you age naturally (and more affordably than plastic surgery or Botox!!)
- Improves Acne
Rosehip Oil has three key vitamins; A, C and E which increase skin cell turnover thus helping in acne treatment. It also helps clear up acne scars due to its rich nutrient content.
- Minimizes stretchmarks
Rosehip Oil regulates the production of collagen, the protein hat causes the human body to become elastic. When the body grows quickly for any reason, your skin can’t stretch enough to keep up which causes stretch marks. This stretching is caused by collagen, the protein that causes the human body to become elastic. Rosehip oil minimizes stretchmarks by regulating the production of this protein.
- Calms Inflammation
Due to its Vitamin E and anthocyanin component, DIY Rosehip Oil calms inflammation.
- Skin Protection
Apart from the other nutrients it has, DIY rosehip oil contains Vitamin C which acts as an antioxidant, and protects the skin from damage caused by disease or sun damage.
MAKING YOUR OWN ROSEHIP OIL
How about we get to actually making your DIY Rosehip Oil? Here’s how:
What you’ll need:
- Fresh or dried rosehips
- Base oil – almonds, jojoba or olive oil will do. These help pull out the good stuff from the rosehips.
- Slow cooker /Pot –
- Strainer/Cheesecloth
- Dark Glass bottles to store your DIY Rosehip Oil
- Rose essential oil ( to add a nice scent to your DIY rosehip oil, this is optional)
The Process
- Take your rosehips and clean them up to remove any dirt, then chop off the ends and cut them into tiny bits.
- Put the diced rosehips in a clean glass jar and pour your oil over them.
- Warm the mixture on a slow cooker for 6-8 hours. Be sure to keep the heat under 38°C if you are using the heat method. You can also use the cold infusion method that involves closing the jar and setting it aside in a cold dark spot for 3-6 weeks.
- Once this is one, take your cheesecloth and strain out the solid parts and voila, your DIY Rosehip Oil is ready.
- Keep your DIY Rosehip Oil in a dark glass bottle to shield it from light so it maintains its properties.
Creative Uses for DIY Rosehip Oil
Your DIY rosehip oil works for more than just skincare. Here are a few more creative uses for rosehip oil:
- Combine it with coconut oil and shea butter to make rich night dream that makes your skin glow.
- Softens the split ends of the hair. Simply put a few drops on damp locks and voila, smooth as silk.
- Add it to your lip balm or body lotion to increase the moisture content.
- Mix your DIY Rosehip oil with lavender, peppermint or other essential oils to create relaxing massage oil.
- Apply it on rough skin areas or elbows for a deep hydrate.
Well, there you go. That’s it for your DIY Rosehip Oil !! Be sure to let us know how it works out for you in the comments section or send us an email to let us know!
Written by Joyce Ochieng for the CBF Store

